Thinking About Open Cell Spray Foam?
You're probably hearing a lot about spray foam insulation these days, and for good reason. It's a fantastic product, when it's put in correctly. But let's be clear: not all spray foam is the same, and not all projects are good for DIY. Today, we're talking about open cell spray foam – what it is, what it's good for, and what you should know before, during, and after you have it installed in your Rapid City home.
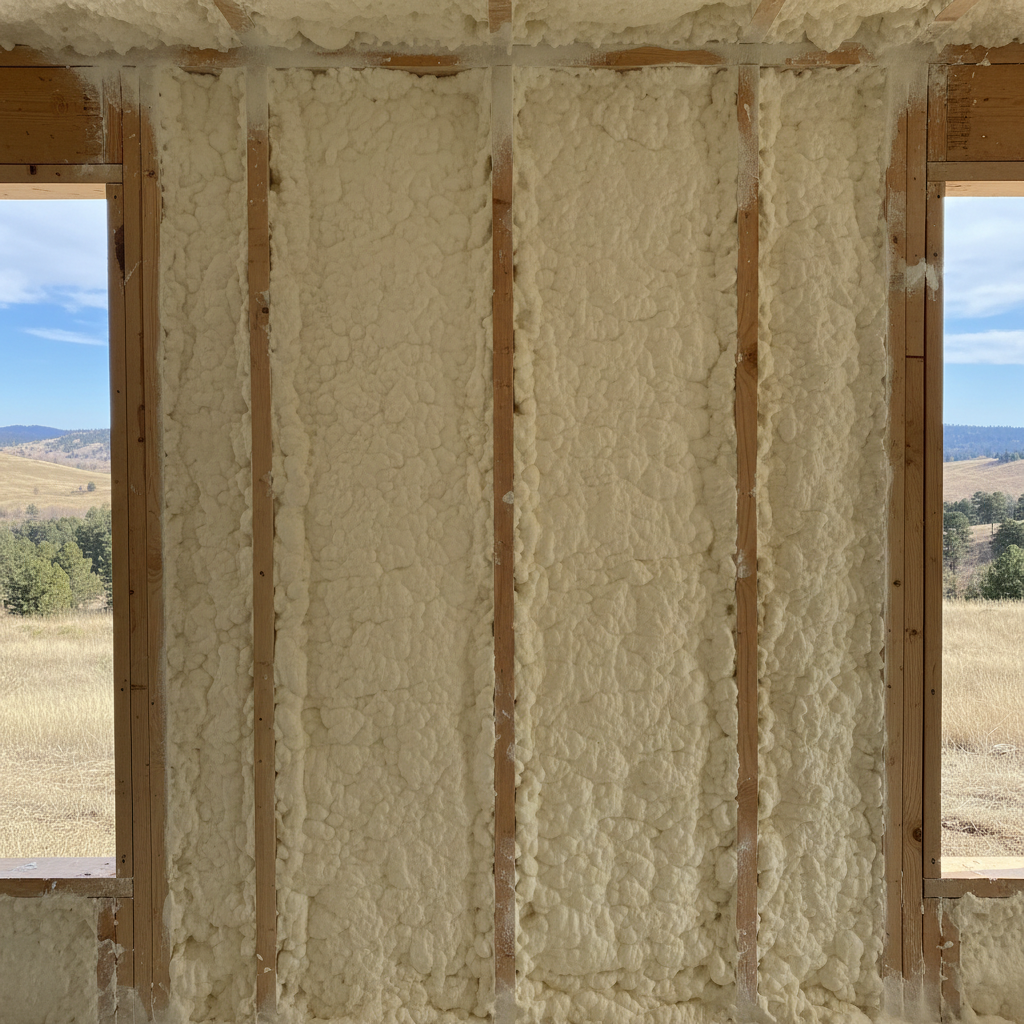
Open cell foam is kind of like a sponge; it has tiny, connected cells that let air and moisture pass through. This is different from closed cell foam, which is dense and blocks vapor. For most attics and wall cavities, especially here where we get those big temperature swings and sometimes a lot of moisture, open cell can be a really smart choice. It's also great for dampening sound, which is a nice bonus if you live near a busy road or just want a quieter home, right?
Before You Start: Planning and Prep
First off, decide where you'll put it. Open cell usually works best in attics, rim joists, and inside wall cavities. We don't typically recommend it for outside applications below ground or in areas prone to flooding because it absorbs water. Before anything else, you've got to make sure the area is clean and dry. Any old insulation needs to come out. Seriously, don't skip this step. You don't want to spray over a bunch of dust, debris, or, even worse, mold.
Next, think about access. Can you actually reach every little spot? If you're insulating an attic, make sure you have a safe path and good lighting. You'll also need to seal up any bigger holes or gaps with caulk or foam sealant before the spray foam goes in. This isn't just about saving money on foam; it's about making sure your insulation works like it should. If you've got any knob and tube wiring, you'll need to deal with that first. Spray foam can't go directly on it.
DIY vs. Calling a Pro
Alright, here's where we get real. Can you install open cell spray foam yourself? Technically, yes, you can buy small kits. But I'm going to tell you straight up, for any significant area, it's a job best left to the pros. Here's why:
- Equipment: Professional spray foam rigs are complex. They heat chemicals to exact temperatures and mix them perfectly right at the gun. A small kit might work for a tiny repair, but for an attic, you'll get inconsistent results, and that means poor insulation and wasted money.
- Safety: The chemicals involved are no joke. You need proper personal protective equipment – respirators, gloves, full body suits. The fumes during application are strong, and you need good ventilation. A professional crew has all the right gear and knows how to use it safely.
- Technique: Applying spray foam evenly and at the right thickness takes practice. Too thin, and it won't work well. Too thick, and you're just wasting material. You also need to know how to trim it properly once it's expanded. Getting a consistent R-value across a large area is tough for a first-timer.
- Air Sealing: A big part of spray foam's benefit is how well it seals air. A pro knows where to hit those tricky spots, like around plumbing stacks or electrical penetrations, that homeowners often miss. We see homes around here in Rapid Valley, for example, where older construction just leaks air like a sieve. Properly applied spray foam can really fix that.
Now, if you're just doing a small, accessible rim joist or a tiny patch, a DIY kit might be okay. But for anything more, save yourself the headache and the chance of a bad job. Give Oasis Insulation Company a call. We have the experience and the right equipment to do it right the first time.
During the Project: What to Expect
If you hire us, here's what you'll see. We'll protect your home, covering floors and anything that shouldn't get foam on it. Our crew will be in full protective gear. You'll hear the spray foam rig running, and there will be a distinct smell during application and for a little while after. It's important that you and your pets aren't in the house during the spraying and for at least 24 hours afterward, sometimes longer depending on ventilation and the specific product used. We'll make sure the area is well-ventilated during and after the job.
You'll see the foam expand quickly, filling cavities and molding to irregular surfaces. It's pretty impressive to watch. Once it's cured, we'll trim any excess if needed, leaving a clean, insulated surface.
After the Foam is In: What's Next?
Once the foam is cured and the air is clear, you should notice a difference pretty quickly. Your home will feel more comfortable, and your furnace and AC won't have to work as hard. Keep an eye on your energy bills; you should see them drop. That's the whole point, isn't it?
Open cell foam doesn't usually need much maintenance. Just make sure you don't squish it or damage it if you're working in the attic later. If you need to run new wiring or plumbing through it, you can cut it out and then seal it back up with a compatible sealant or a small amount of new foam. If you ever have a leak, because open cell lets moisture through, you'll likely see the water stain. That's a good thing – it tells you there's a problem you need to address, unlike closed cell which can sometimes hide leaks. Just make sure to fix the leak and let the foam dry out completely.
So, that's the rundown on open cell spray foam. It's a great product for the right application, and when it's installed correctly, it'll make your Rapid City home much more efficient and comfortable. Don't hesitate to reach out if you have questions or want a quote.